WKNDS RECIPES //


Spanish Toast

(my take on the traditional Spanish breakfast staple)

IMG_3491.JPG

Anyone else out there always craving a savory (and not to mention EASY) breakfast?


I’m the kind of person that likes to be adventurous with cooking, and always chooses salty over sweet. So if that’s you, this is your perfect breakfast to tackle this weekend.

This recipe is my take on a traditional Spanish breakfast staple. Michael and I took a trip to Spain in 2018 and noticed on every table in every restaurant there was a basket of bread, and a bowl of tomatoes and garlic. For days we wondered what it was for, until one day we saw someone take the bread, rub it with garlic, slice the tomato and rub the seed side on the bread, drizzle olive oil on top and sprinkle a little salt.

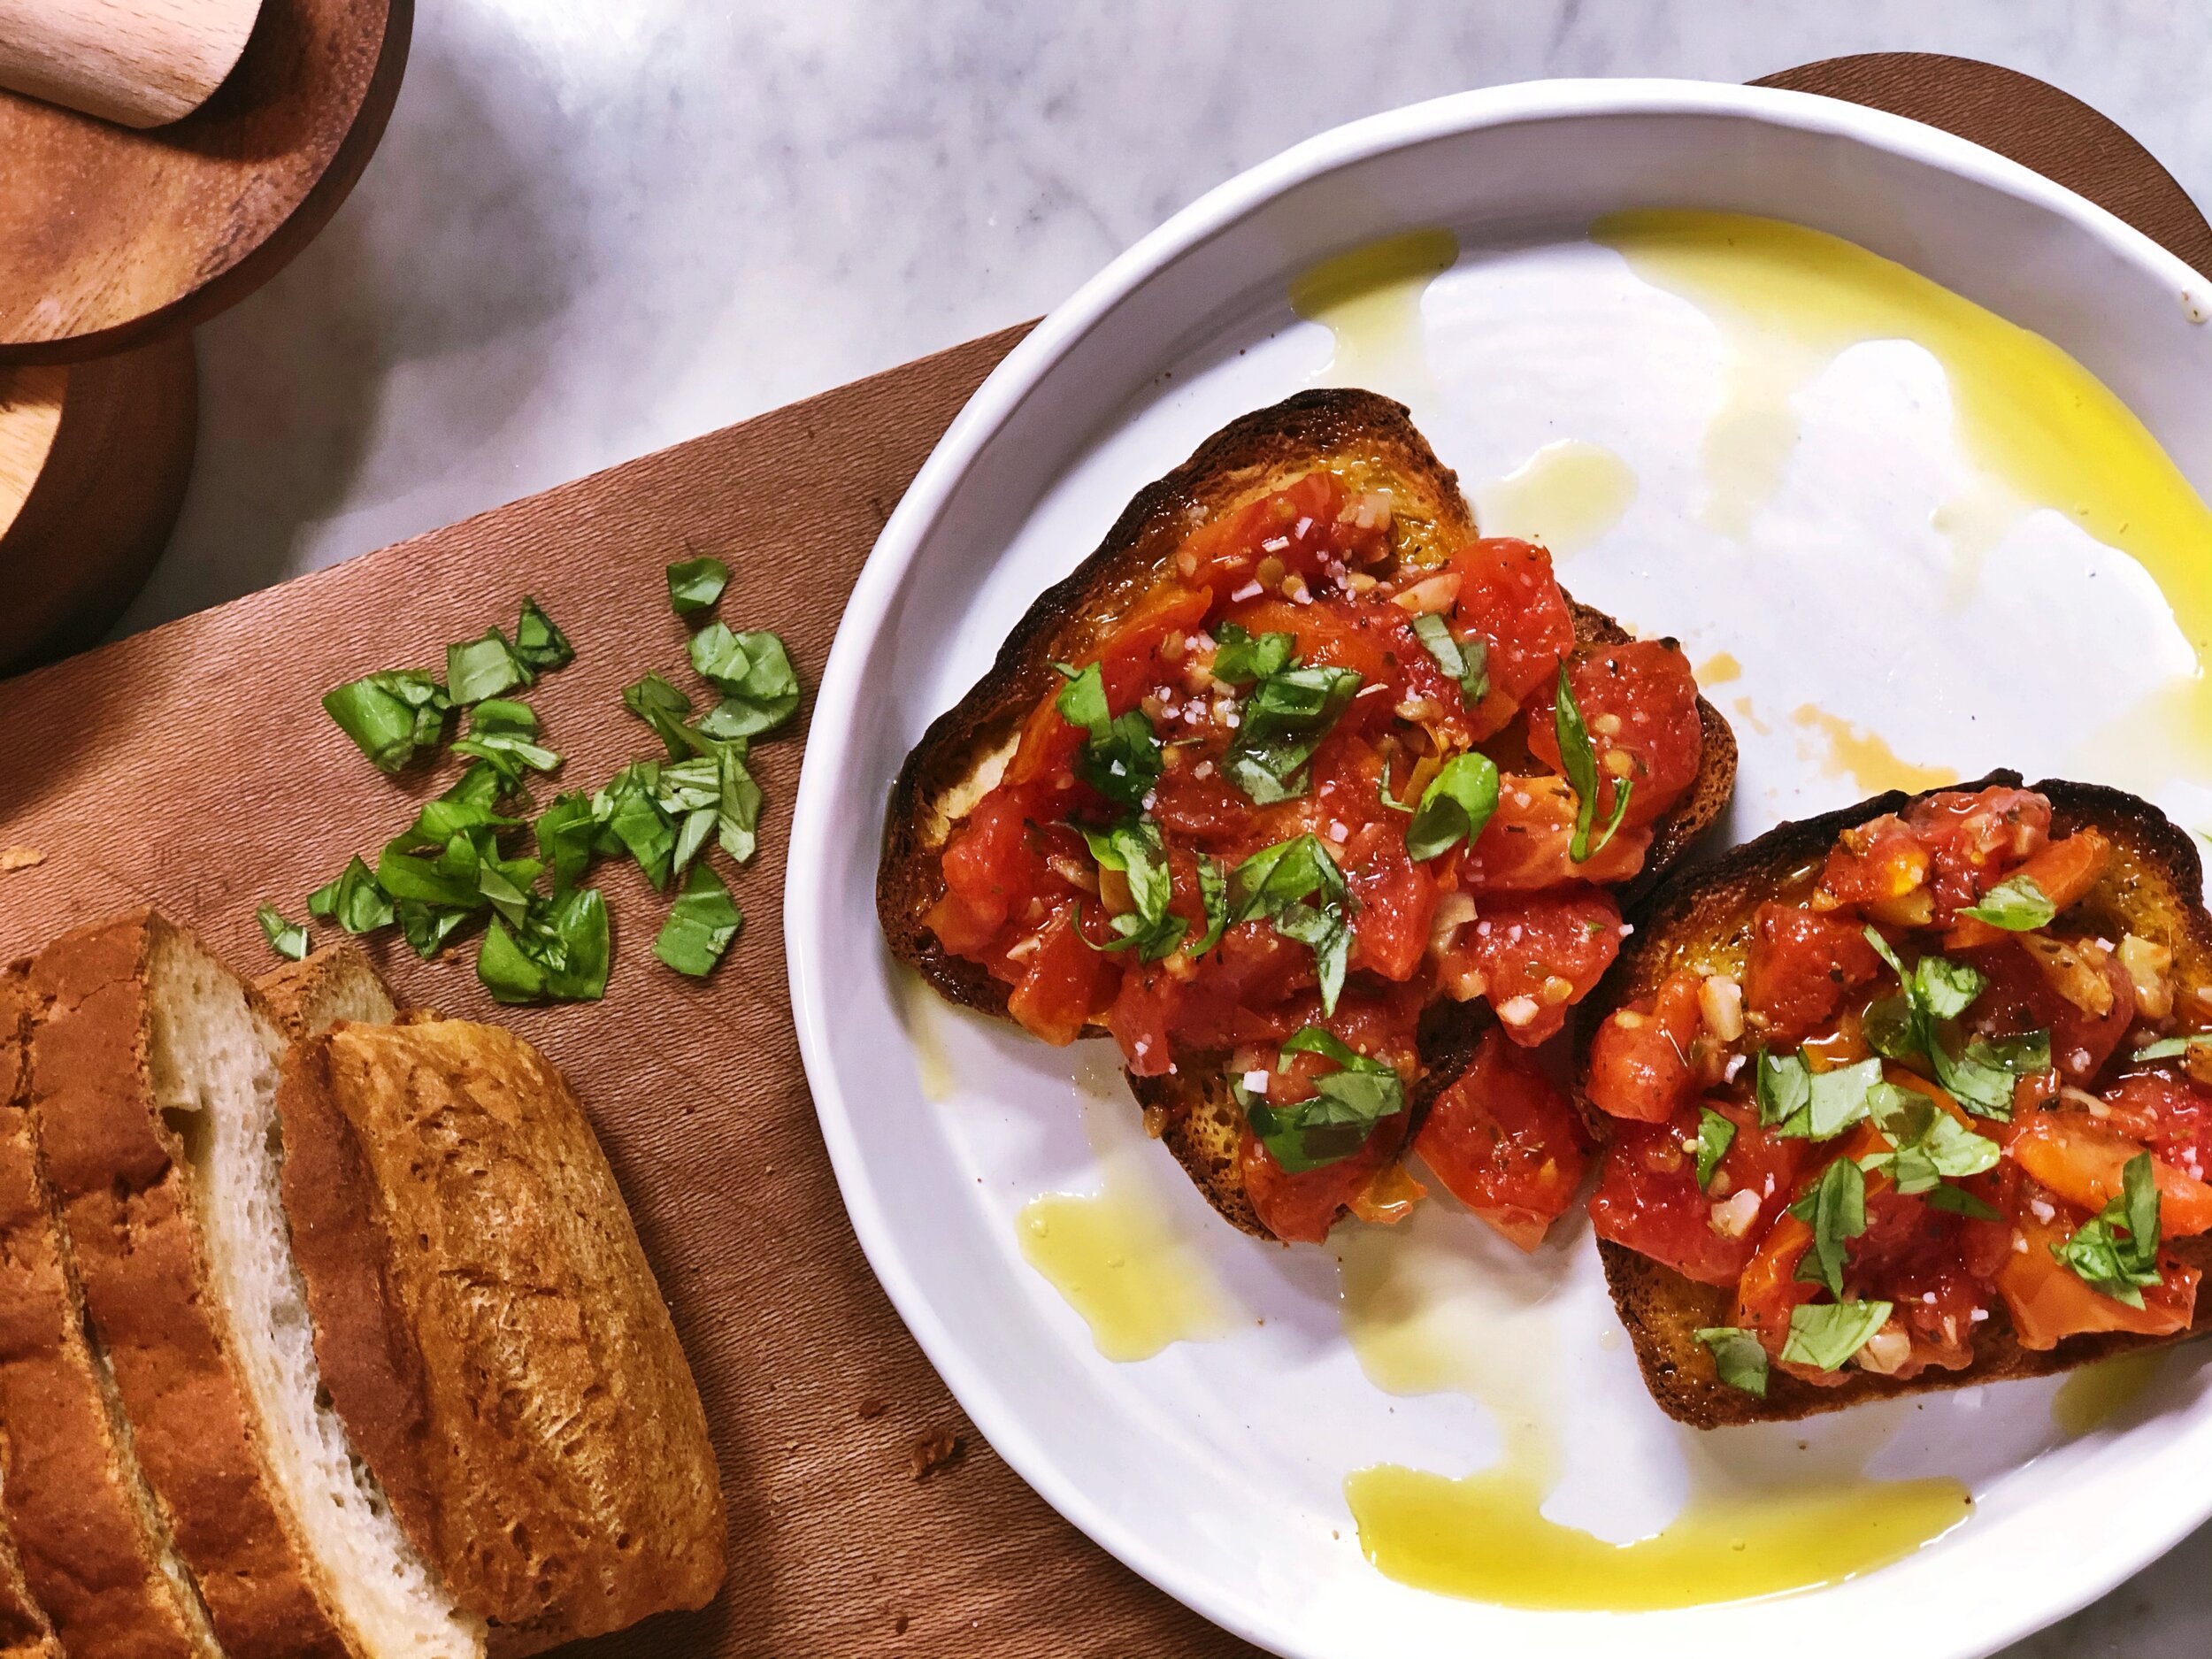
This recipe is inspired by that delicious breakfast bread (although I’d eat or serve this for any meal!) My twists are: the tomatoes are cooked with the garlic in olive oil, then served on butter-toasted bread with fresh chopped basil, a drizzle of olive oil and some thick finishing salt on top.

If you’re looking for a full breakfast to serve with this, you can dish it up with a side of fried eggs & jamon *if you’re trying to stick with the Spanish theme* (or crispy bacon).

enjoy!


IMG_3492.JPG

WKNDS SPANISH TOAST

Serves 2-4

Ingredients:

IMG_3494.JPG

4 slices of bread

1 Tomato

IMG_3493.JPG

5 cloves of garlic

1 tsp dried oregano

6 leaves chopped fresh basil

2 Tbs Olive Oil

1 Tbs butter

1 tsp salt

a pinch of finishing salt (or kosher salt)


Instructions:

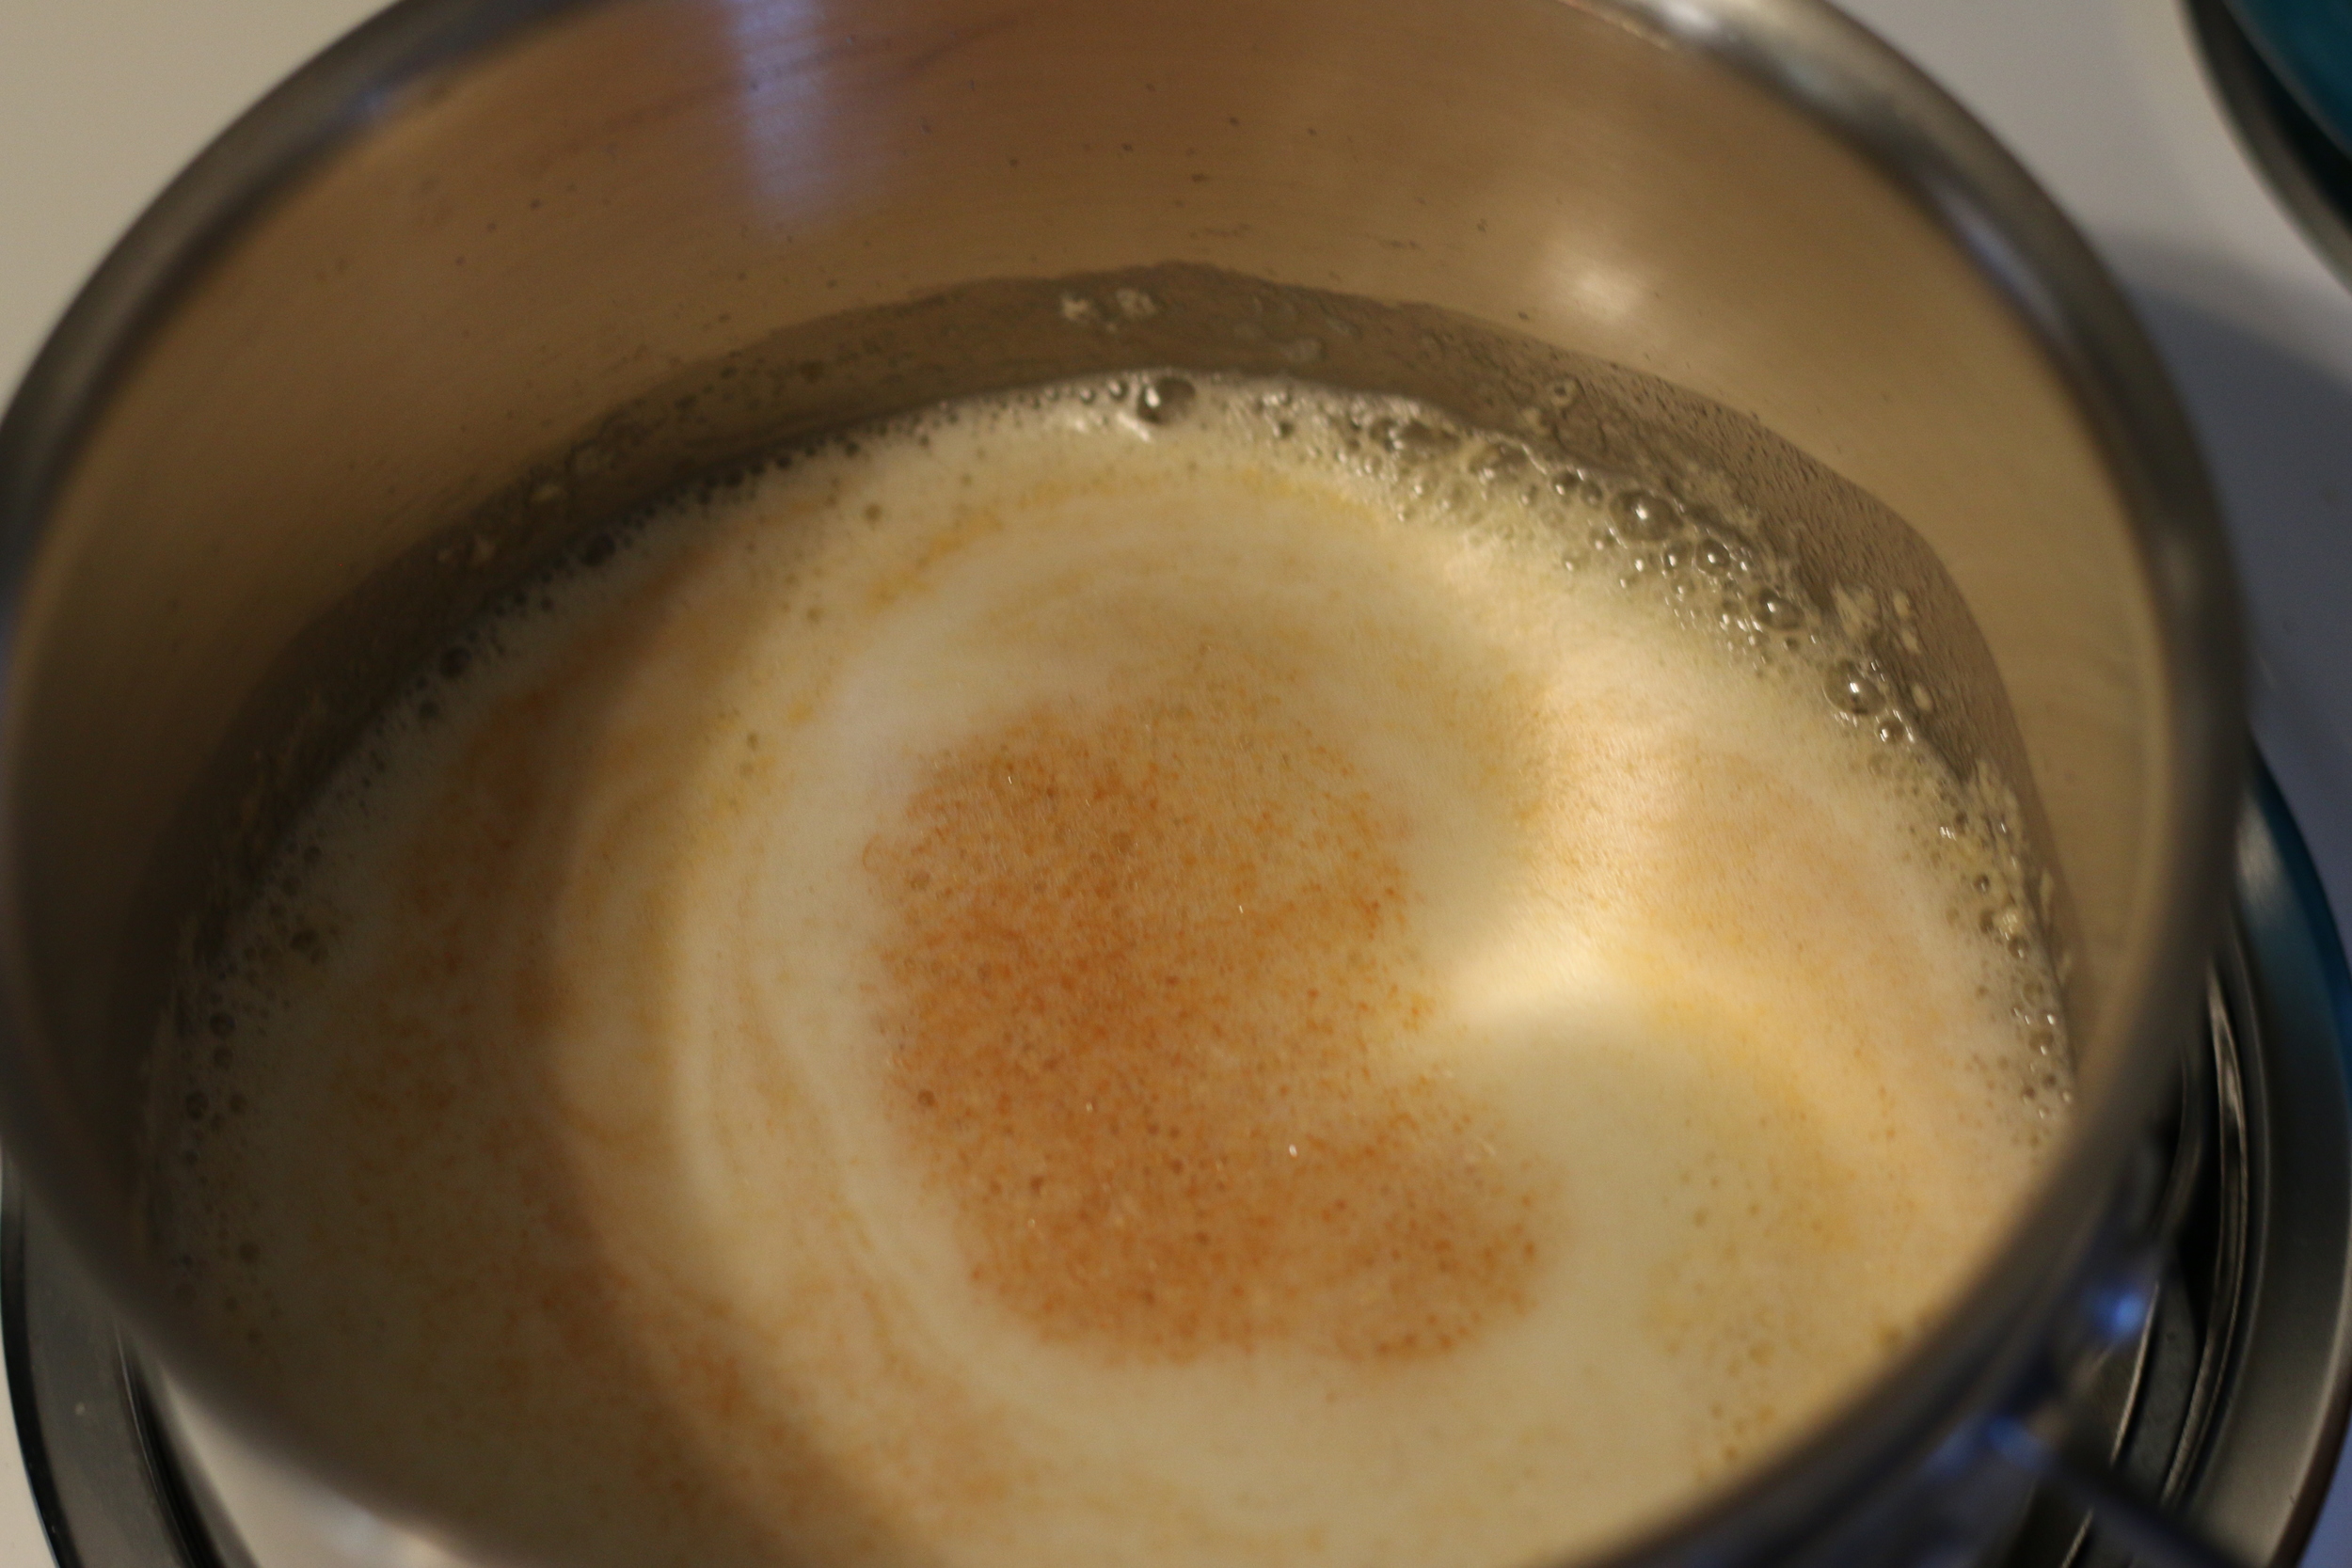
Roughly chop the tomatoes and garlic. Add to a non stick skillet with 1 Tbs of olive oil, 1 tsp of salt, and 1 tsp dried oregano. Cook on medium high heat, stirring frequently for about 7 minutes, or until desired texture.

While tomatoes are cooking, spread the butter on the bread and put it in the toaster oven until brown and crispy, about 5 minutes

When the bread is done, assemble your toast by adding the cooked tomatoes & garlic on top, then the fresh chopped basil, then a drizzle of olive oil and a pinch of finishing salt. 


SIDE NOTE //

I’m allergic to gluten, so I eat a completely Gluten Free diet (so every recipe I cook is gluten free). I think you can use any bread and this will be delicious, BUT this is the gluten free bread that I used for this, and it’s absolutely delicious CANYON BAKEHOUSE | Country White Bread


IMG_3490.JPG

Happy cooking & hope you have a great weekend!

xo

Em


RECIPE: BROWN BUTTER CINNAMON ROLLS


Hello + happy weekend!

I've got a fun weekend recipe for you, so if you've got a sweet tooth and you're ready to attempt your most domestic (and also epic) baking adventure of all time, continue reading..


I'm a big fan of tradition. 

In fact, I love the idea of tradition so much that when Michael and I got married we sat down and made a list of festivities and traditions from our childhood (PLUS several newly imagined ones) that we wanted to be a big part of our new lives as a married couple.

One of the things that was really important to me is that we learn to celebrate each other really well, especially on birthdays. 

One year I had the idea of a birthday brunch, and it really stuck. The menu is always different, but the one item that always makes it into one of our brunches is some sort of cinnamon-y sweet. We've experimented with cinnamon toast, cinnamon donuts, and even churros. But the ultimate winner turned out to be a homemade cinnamon roll

I started with 3 different recipes and sort of combined and tweaked until it was perfectly tasty. Now I'll whip these out for any day that needs a little pep in its step. 


FILLING

2 cups white sugar

2 cups brown sugar

Plenty of cinnamon

3 sticks butter, melted


GLAZE

2 bags powdered sugar

1 stick of butter

1 tsp vanilla

½ tsp salt

1 Tbsp light corn syrup

2 cups hot water


BROWN BUTTER CINNAMON ROLLS

*yields between 2-4 dozen, total time: 3-4 hours


DOUGH

8 cups all-purpose flour + 1 cup

2 packets dry active yeast

1 qt. whole milk

1 cup vegetable oil

1 cup sugar

1 heaping tsp baking powder

¾ tsp baking soda

1 Tbsp salt

16 oz. cream cheese


DIRECTIONS


1. SCALD THE MILK

In a large stock pot, combine milk, oil & 1 cup sugar. “Scald” the milk by heating on medium-low until just below a boil, stirring frequently. This should take about 10 minutes. Remove the mixture from heat and let cool for about an hour, stirring occasionally to speed up the process.  When the milk has cooled down to lukewarm, sprinkle in the yeast evenly cover the surface and let sit there for about 2 minutes.

A very important baking note: DON'T ADD YEAST TO HOT MILK. Yeast is a living thing that needs a comfy warm environment in order to rise. If you put it into something too hot, it will die and the bread won’t rise. A good test for temperature is to stick your finger into the liquid and if you can comfortably keep your hand there, then the yeast will be fine. Make sure to touch near the bottom of the pan where a lot of the heat is held.


2. Make the dough

This is a two-step process. (step one) While the milk mixture is cooling, measure and sift out 9 cups of flourThen add 8 cups of the flour on top of the yeast and stir until combined. Cover with a kitchen towel and let the dough sit out at room temperature for an hour. (step two) Combine the baking soda, baking powder, salt and 1 cup of flour in a separate bowl, stirring together very well. After the dough has been rising for an hour at room temperature, add the remaining flour mixture, stirring well. 

Dough should be a little sticky, but should hold together well. The dough is ready to use if you'd like, but for best results cover the pot with plastic wrap and let the dough continue to rise in the refrigerator overnight. You may have to punch it down a few times as it rises above the top of the pot.


3. MAKe the brown butter for the glaze.

Place 1 stick of butter in a small saucepan and turn on med-hi. First the butter will melt, and as its cooking I usually pick up the pot and swirl it around every few minutes. Then the butter will come to a boil, then start to foam. You don’t want the it to burn, so you can swirl it a little more often while it’s boiling. Cook it on this temperature until the foam goes down and you start seeing little pieces of brown (and the butter will smell more like toasted nuts than before) and it will foam up a little bit. Pour the butter into a small bowl and set aside for later.


4. Roll out the dough

Take the dough out of the refrigerator and split it into two halves (repeat the following steps for each half). Place one half on a heavily floured surface to be rolled out. Sprinkle the top with flour and press the dough out into a rectangle shape, then roll it out to about 1/4 - 1/2 inch thick. The thinner your roll the more swirls you'll have. Take one 6 oz. bar of softened cream cheese and spread it out until its a thin layer covering all of the dough. Make sure the counter underneath the dough has plenty of flour, it tends to stick. Fold the dough in on itself 3 times -- once from each side meeting in the middle and then again where the two sides meet. The dough should now be in a smaller rectangle with the cream cheese inside. Roll it out again to 1/4 - 1/2 inch thick.


5. Add cinnamon & roll 'em up

Melt 3 sticks of butter (this will be enough for greasing both pans and for the cinnamon spread on both rolls). Pour a generous amount of melted butter on the dough, and spread it out until it covers the whole surface. Then sprinkle with a layer of cinnamon, white sugar and brown sugar, then another layer of cinnamon. Be generous with all this stuff. Then roll the dough lengthwise as tightly as you can until it forms a log. Using a bread knife or a sharp chefs knife, cut the log into individual rolls measuring about 2-3 inches thick. You may need to flour the knife.

(I rolled mine thick and cut them thick, so these turned out about the size of a Cinnabon)


6. BAKE THE ROLLS

Preheat oven to 400°. Coat the bottoms and sides of the pans with the melted butter. Place the rolls in the pans, (3 to a circular pan). It’s best to keep them farther apart to let them rise and fully cook in the oven. Give each one of them about an inch or more of space all the way around. Bake for 15-20 minutes, or until they begin to brown & look like the photo below.


7. MAKE THE GLAZE (FINAL STEP!)

the first batch is in the oven, make the glaze: Add the powdered sugar, brown butter, vanilla, salt, corn syrup and 1 cup at a time of the hot water. Stir together with a whisk as you go, and once your glaze is the right consistency set it aside. I like mine somewhere between an icing and a glaze, so when I stick a spoon in it flows off easily but the spoon never gets completely clean. As each batch comes out of the oven, immediately put a giant spoonful of glaze on top of each one and let it melt over the top. Or just pour it on...

ENJOY


TIP /

You may not use all of the water, or you may feel like you need to use more. You're adding water to get the correct consistency, and that's really up to you. I like my glaze thick because it melts over the hot cinnamon rolls. But I promise this glaze will taste good no matter what consistency it is.


EAT THEM HOT + SHARE WITH SOMEONE YOU LOVE

xo, Emily


RECIPE: HOMEMADE CORN DOGS


Happy Tuesday from chilly Michigan!

Michael and I are headed to Adrian, MI to play a show tonight. I've been feeling a little drained today and I thought we all might could use some Tuesday inspiration.

So you've come face to face with the realization that you're already exhausted and Friday is so far away (sigh). Here's a little something easy and fun for you to look forward to this week.

It always energizes me to get creative in the kitchen, this will be a good excuse to have some friends over and plan a themed movie night or play board games while you munch on warm homemade corn dogs. Or if you want to go all out, you could always plan a whole carnival themed date night…just saying...

Happy cooking!


HOMEMADE CORN DOGS

(makes about 20 minis)

1 cup self-rising flour

1 cup corn meal

1  1/4 cups buttermilk

2 tsp salt

1 tsp pepper

3 Tbs sugar

2 Tbs honey


You'll also need...

corn starch for dredging

10 hot dogs, cut in half

20 wooden sticks (chopsticks, skewers, or lollipop sticks)

candy thermometer


Mix the cornmeal, flour, buttermilk, sugar, salt, pepper and honey together until blended well. Pour into a tall cup for dipping

Cut the hot dogs in half, and insert the wooden sticks

Heat oil in a cast iron skillet or a fryer to 375 degrees

Cover one of the mini corn dogs in corn starch, then dip it in the mixture

Drop the whole thing into the oil and let cook for about 3 minutes, or until it reaches the color and consistency that you like

Fry up to 4 at a time, depending on the capacity of your fryer. The more you put in there, the harder it will be to maintain the proper temperature

Cool on a plate with a paper towel to absorb the oil for at least 3 minutes before serving


Date Night Idea /

One of my favorite scenes from the Notebook is Noah and Allie's date to the fair. It would be a romantic movie night to cook dinner together with fair-themed food (think corn dogs, funnel cakes, caramel apples or ice cream cones…you've got lots of unhealthy options here so go big or go home). Then move all of the furniture in your living room to make space for an air mattress picnic and watch The Notebook together with your carnival feast. Don't forget candles and tissues.


Just before I sat down to share this recipe I was reminding myself that every single day I have the option to make my life joyful, or to let everyday stress seep in and dull the things that could've been great. So I'm going to smile more today, and remember why The Notebook is such an incredible movie, and enjoy the people in my life, and plan ahead to make some corn dogs.

I hope you do too!

xo, Emily